Design
2023-04-13
After using it for two years, I keep stumbling across things things about the pack that I think could be better. The cinch top would be better as a roll top. I want a dedicated pocket for an avalanche shovel an probe, and I want a hip belt. With spring ski traverse season quickly approaching, I decided to dive into making a second version of the pack.
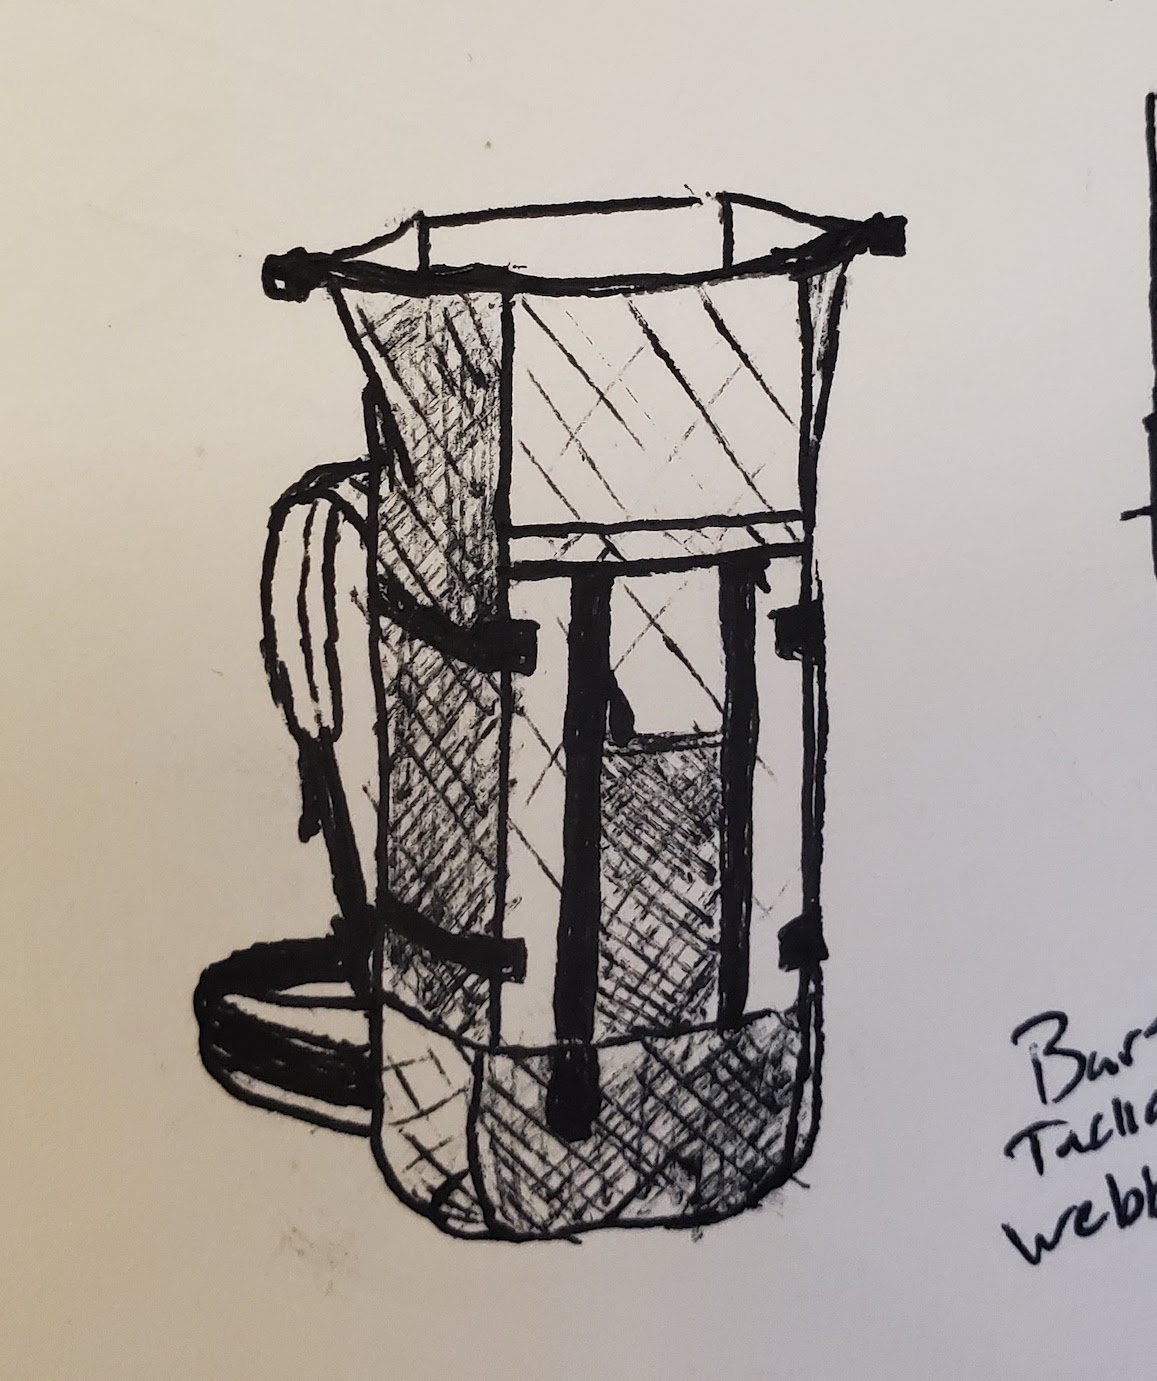
I began my design as I often do in my sketchbook, with both a rough sketch of my design for the pack and with a list of the features that I was looking to include. I’ve listed the features I wrote down below.

- External strap for skis
- Zippered avalanche gear pocket
- External stretchy pocket
- Zippered internal waterbottle pocket
- Ice axe loop
- External crampon straps
- Roll top
- Trash pocket
- Snack/Waterbottle pocket on front straps
- Sternum strap
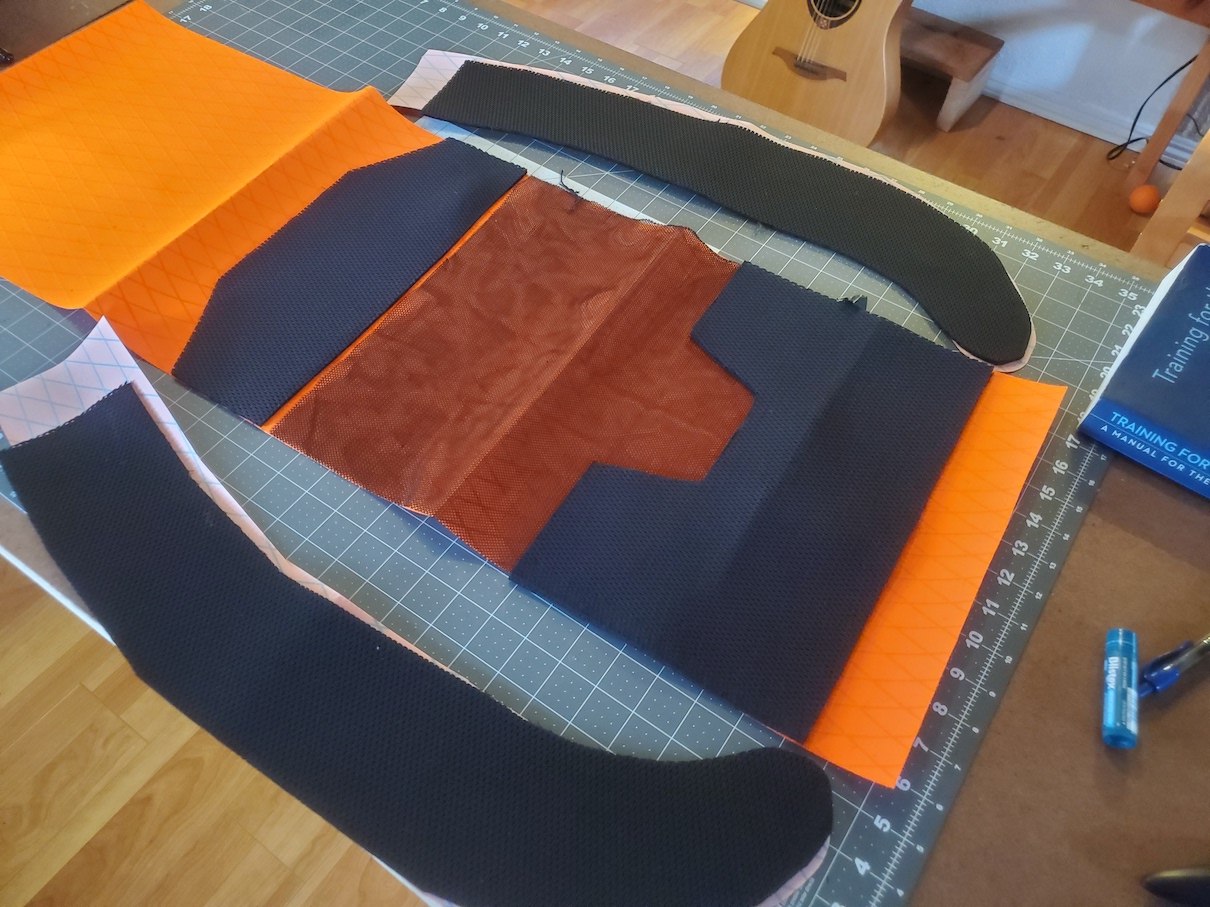
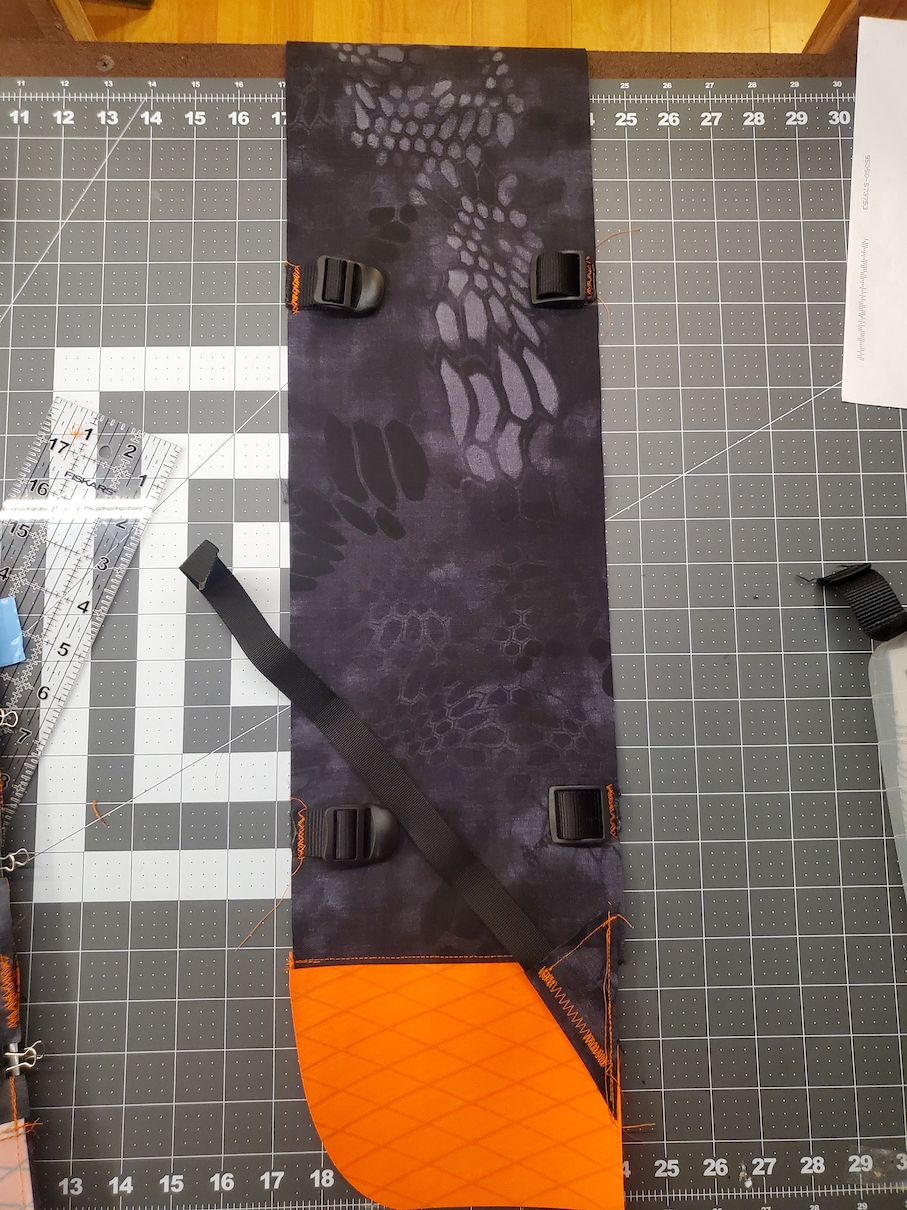
My first ski pack used 1000d Cordura for the side panels. Cordura is renoun for its abrasion resistance, and that property had worked very well in helping the first ski pack withstand constant abuse from the edges of my skis. I had 500d Cordura in a black camo print laying around, and decided to use it as the first primary fabric of the pack. For the rest of the main panels I bought X-Pac VX07. When I first got into making gear, I had purchased some blaze orange Gutermann Mara thread on sale, and the blaze orange threadwork has been an accent in my work since then. I went with a blaze orange color for the VX07 here as a bit of a nod to that.
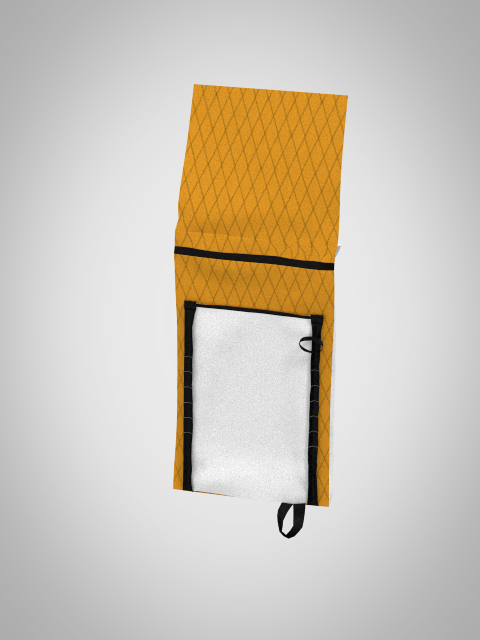
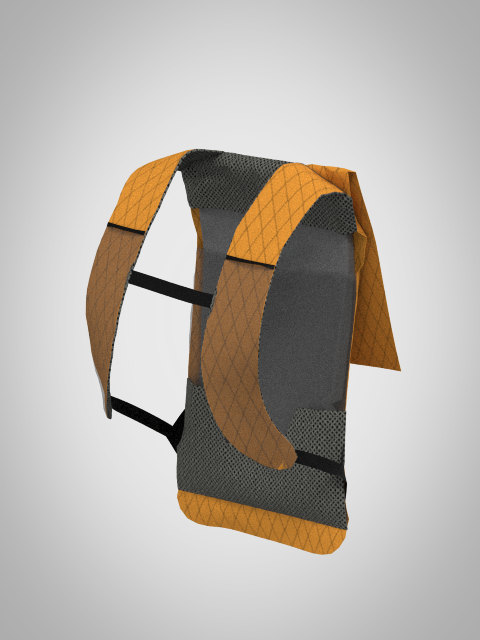
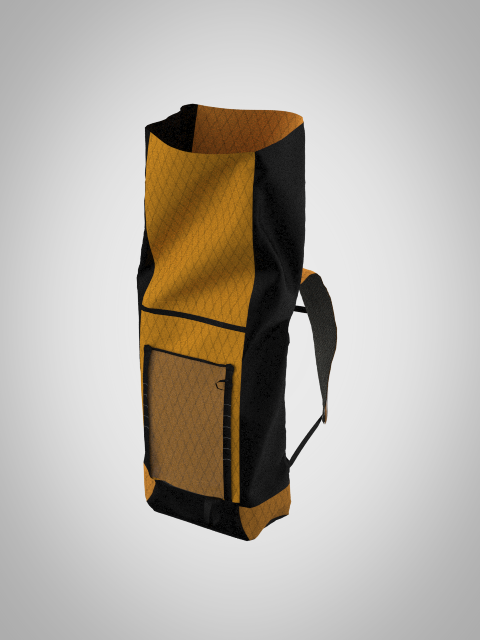
After picking out the fabrics, I incrementally built up the pack in CLO3D. First, I designed the avalanche pocket in the front panel of the backpack. Next, I used my experience from my running vest prototypes to design a set of well-fitting straps using the 3D avatar. The pack itself drew heavily from my experience both in the first version of the ski touring pack, and from my PCT backpack.
I’ve written it here before, but having a 3D cloth simulation and patterning software is incredibly useful in designing a pack. I can play around with ideas and iterate faster than continually building smaller prototypes.
Fabrication
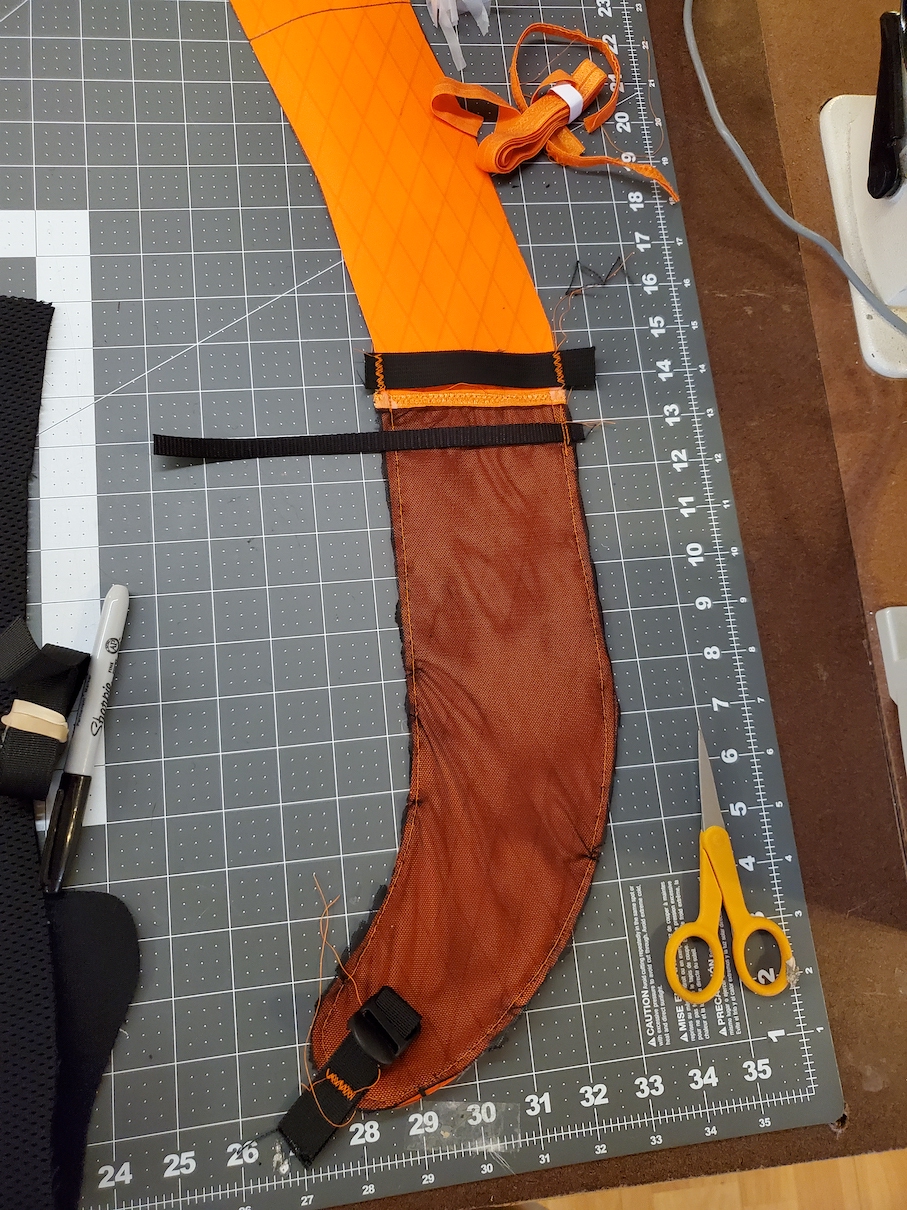
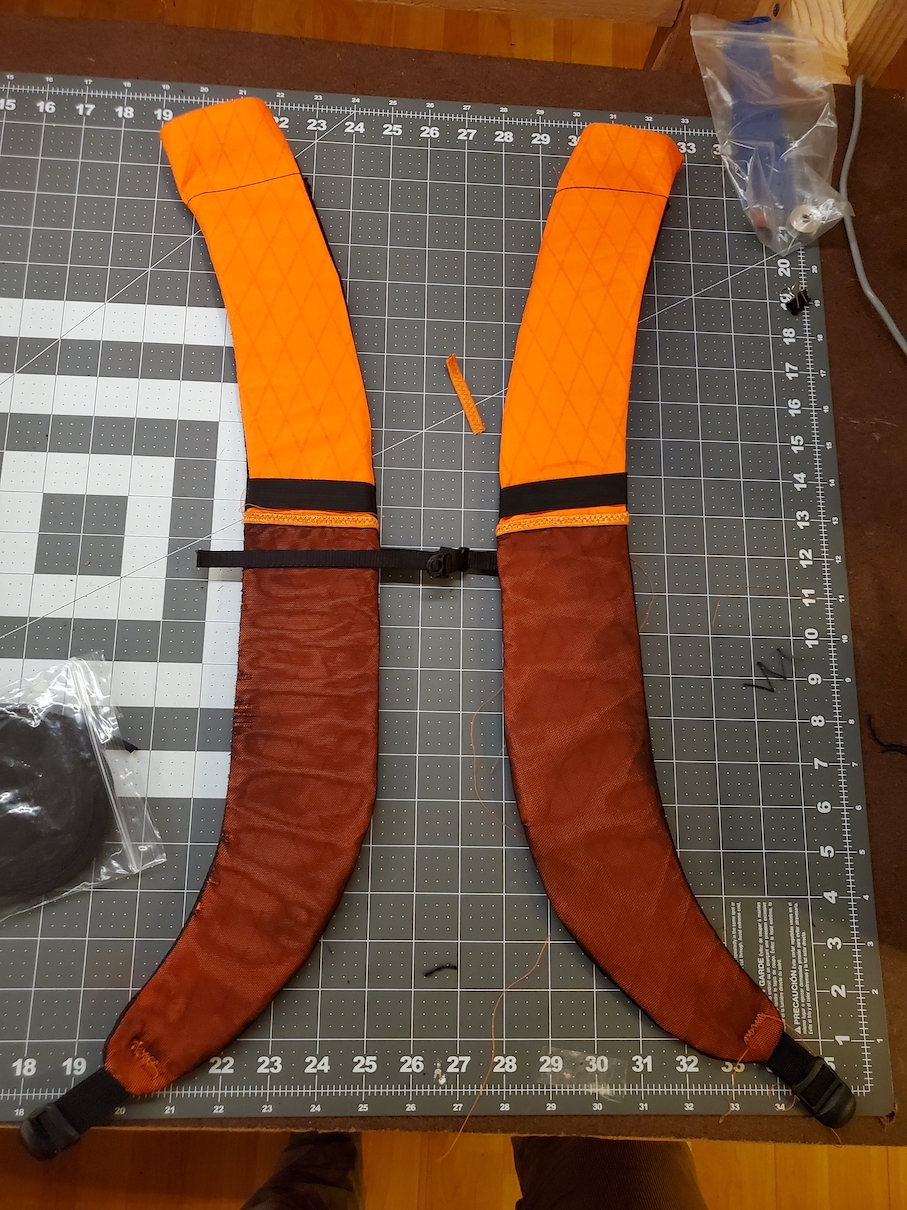
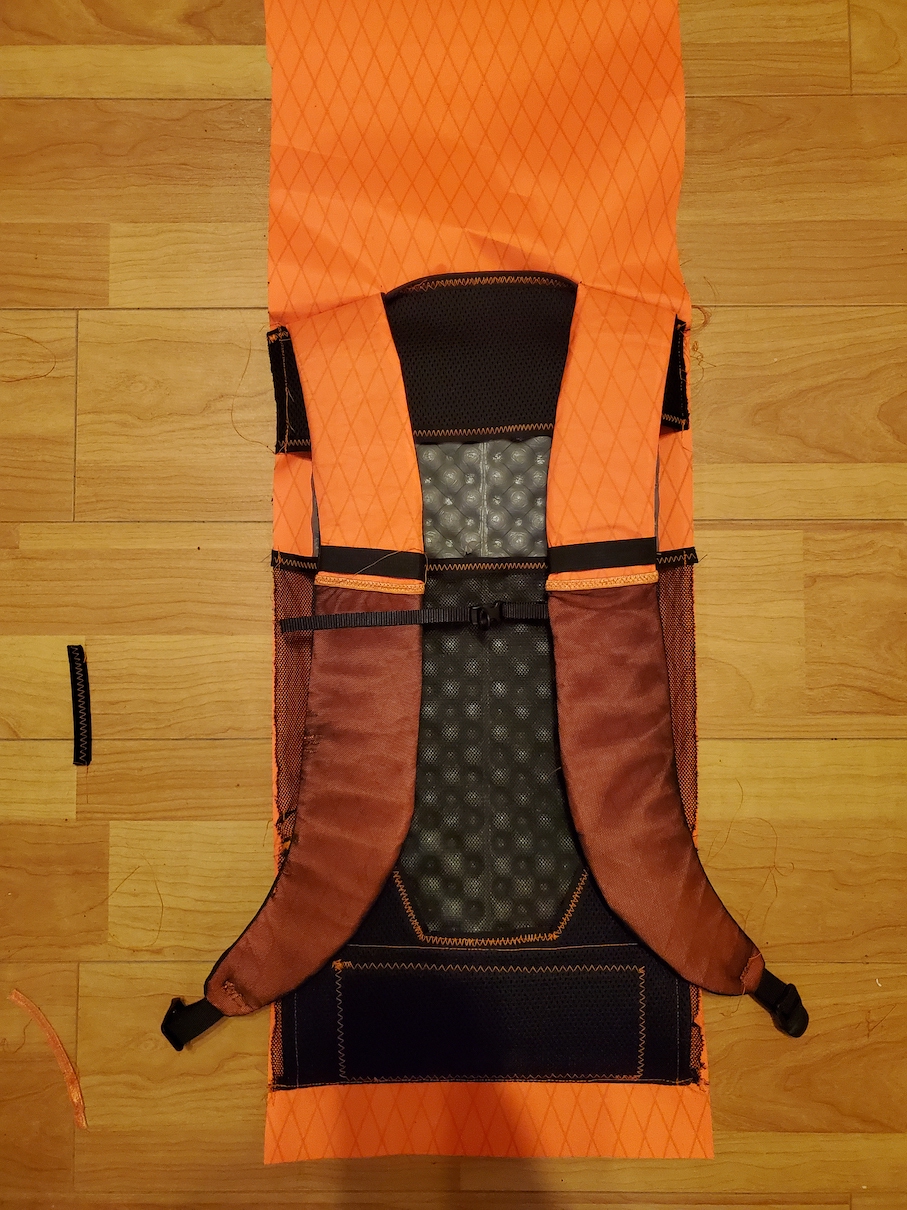
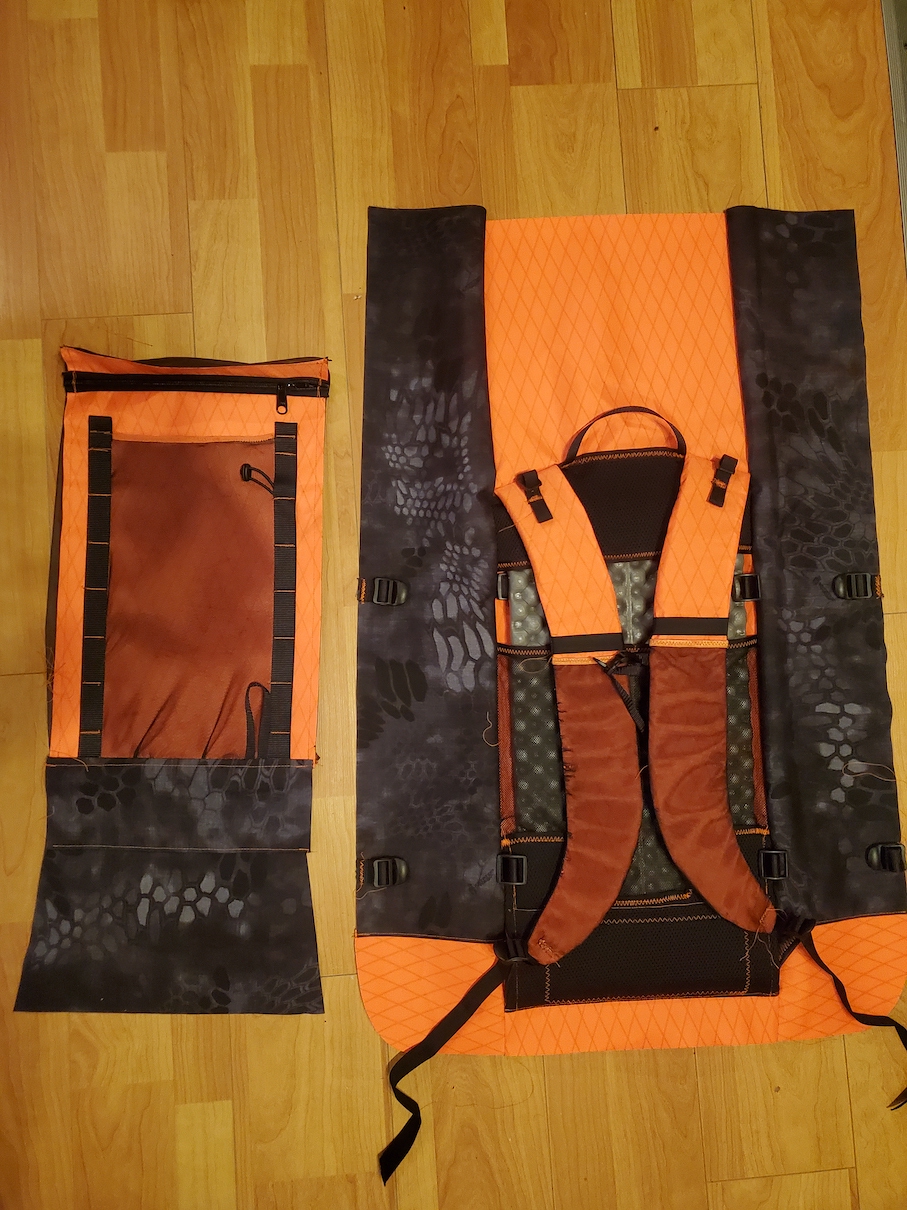
Here’s a collection of photos from cutting up my materials and stitching everything together. I printed out 1:1 scale pattern pieces for the curved, more complex pieces, and went off of dimensions for the rectangles. With the pattern from CLO-3D and and my model of the pack to guide me along, I was able to get through the fabrication phase much quicker than other packs. Just like the design phase, I put together the Avy pocket first, then the back panel, then sewed on the sides to pull everything together.

Use
Here’s a collection of photos from cutting up my materials and stitching everything together. I printed out 1:1 scale pattern pieces for the curved, more complex pieces, and went off of dimensions for the rectangles. With the pattern from CLO-3D and and my model of the pack to guide me along, I was able to get through the fabrication phase much quicker than other packs. Just like the design phase, I put together the Avy pocket first, then the back panel, then sewed on the sides to pull everything together.